· Kitchen · 8 min read
Food Receiving Inspection: Procedures That Protect Your Kitchen
A step-by-step receiving protocol covering temperature verification, quality checks, documentation, and rejection procedures — the first line of defense in your food safety system.

Every piece of food in your kitchen passed through your receiving dock first. The quality of what goes into a dish is bounded by the quality of what was accepted at the back door. A receiving inspection is not bureaucratic box-checking — it is the moment you decide whether you are building meals on a safe foundation or buying someone else’s problem.
Most foodborne illness outbreaks that trace back to restaurants begin not with poor cooking but with contaminated or temperature-abused ingredients that should have been rejected at delivery. A rigorous receiving procedure costs about 20 to 30 minutes per delivery. A foodborne illness event costs far more.
The 30-Minute Rule
According to the WebstaurantStore receiving procedures guide, the entire receiving process — from vehicle arrival to refrigerator storage — must be completed within 30 minutes for perishable items. This is the cold chain rule, and it is not negotiable.
The cold chain is the unbroken sequence of refrigerated handling that keeps perishable food safe from production through consumption. Every minute a refrigerated item sits unrefrigerated adds thermal abuse that compounds. A chicken breast that arrives at 39 degrees F and sits on a receiving dock for 45 minutes while a delivery driver waits for paperwork may still feel cold to the touch but has already started accumulating time in the danger zone.
Design your operation around this constraint:
- Schedule deliveries for non-peak hours when staff are available to receive immediately
- Position your receiving area adjacent to your walk-in cooler, not across the kitchen
- Have a designated staff member for receiving during each scheduled delivery window
- Keep the receiving area clear of other activity during deliveries
Before You Accept Anything: Vehicle and Driver Inspection
According to the WebstaurantStore guide, receiving begins before you touch a single product. Inspect the delivery vehicle before accepting any items:
- The vehicle should be clean and in good physical condition
- Refrigerated trucks must be operating — check for running refrigeration units, visible condensation on cold surfaces, and a thermometer or temperature readout inside the truck
- Products should not be visibly sweating, thawing, or showing signs of temperature abuse
- The driver and their handling practices matter — signs of poor hygiene or careless product handling warrant heightened scrutiny
If the vehicle or driver fails basic inspection, you have the right to reject the entire delivery or request supervisor contact before accepting anything. Document what you observed.
Temperature Verification: The Most Critical Check
According to the WebstaurantStore guide, temperature verification is the single most critical step in receiving perishable items. You need a calibrated thermometer — ideally a thin-probe digital thermometer — to check the internal temperature of representative items from each category in the delivery.
Temperature standards by product type:
| Product Category | Required Receiving Temperature |
|---|---|
| Fresh refrigerated items (produce, dairy, eggs) | 41°F (5°C) or below |
| Fresh proteins (beef, pork, lamb, seafood) | 41°F (5°C) or below |
| Fresh poultry | 41°F (5°C) or below |
| Live shellfish | 45°F (7°C) air temperature |
| Frozen items | Fully frozen, 0°F (-18°C) or below |
| Hot items (prepared foods received hot) | 135°F (57°C) or above |
For refrigerated items, measure several pieces — not just the one on top. Surface temperatures are always lower than internal temperatures in a product that has been warming. Press the thermometer probe between packages or into a fold in the packaging for the most accurate reading.
Frozen items must be completely solid with no soft spots. Signs of thawing and refreezing include ice crystals visible inside packaging, misshapen packages, or package deformation from liquid pooling during a thaw. Any evidence of prior thaw-refreeze cycles is grounds for rejection — refreezing does not restore the safety of a product that has spent time in the danger zone.
Quality Inspection by Category
Temperature is necessary but not sufficient. According to the WebstaurantStore guide, quality inspection goes beyond the thermometer.
Produce
Examine produce for freshness indicators appropriate to the product: firmness in root vegetables, vibrant color in leafy greens, absence of bruising or decay. Check the stems and bases of bundled herbs for sliminess. Reject produce that shows mold, excessive wilting, or physical damage that has broken the skin.
Proteins (Beef, Pork, Lamb)
Check color (bright red for fresh beef, pink for pork), odor (no sour or off smell), and texture (firm to the touch, not slimy). Ground meats should be bright red throughout with no gray areas. Vacuum-packed proteins should have no air pockets or ballooning, which indicates seal failure and potential bacterial growth.
Poultry
Fresh poultry should be pink and moist with no odor beyond a mild, fresh smell. Any pink or red coloring in the joints of cooked chicken is a quality concern. Skin should be intact and not slimy. Reject any poultry with an ammonia or sulfur odor.
Seafood
Fresh fish fillets should have clear, bright eyes (whole fish), red or pink gills, firm flesh that springs back when pressed, and a clean ocean smell — not a “fishy” or ammonia odor. Shellfish should be received live; dead shellfish (open shells that do not close when tapped) must be rejected. Shrimp should be firm and translucent.
Dairy and Eggs
Dairy products must be within their use-by dates, in intact, undamaged packaging, and at the correct temperature. Eggs should be received clean with no cracked shells. Even one cracked egg in a flat represents a cross-contamination risk.
Dry Goods and Canned Items
According to the WebstaurantStore guide, dry goods must be in intact, clean packaging with legible labels and valid expiration dates. Inspect canned goods for:
- Dents on seams (side seams, top rim, bottom rim) — reject; seam integrity is compromised
- Bulging lids — reject; indicates bacterial fermentation and potential botulism risk
- Rust — reject if extensive or in seam areas
- Leaking — reject immediately
Small surface dents away from seams are generally not a food safety concern, but your supplier relationship will be better served by flagging all dented cans as a quality issue regardless.
Documentation: Match the Delivery to the Purchase Order
According to the WebstaurantStore guide, every delivery requires documentation verification before the delivery receipt is signed:
- Item verification: Are the items delivered what was ordered? Brand, product type, size, pack count.
- Quantity verification: Does the delivered quantity match the invoiced quantity? Count cases, not just glance at pallets.
- Price verification: Do the prices on the delivery invoice match your purchase order or contract pricing? Discrepancies noted before signing are easier to resolve than disputes after the fact.
- Specification compliance: Does the product meet your specifications? A “ground beef 80/20” specification means something specific — verify it.
Note any discrepancies on the delivery receipt before signing. A signed delivery receipt without noted exceptions is typically treated by suppliers as acceptance of the full delivery as invoiced. Credit requests for rejected items should be initiated immediately and documented with the driver.
Rejection Procedures
When you identify a problem — wrong temperature, quality failure, wrong item, damaged packaging — rejection must follow a clear procedure.
According to the WebstaurantStore guide:
- Set the rejected items aside, clearly separated from accepted product
- Note the rejection reason on the delivery receipt before the driver leaves: temperature (with reading), odor, visible damage, wrong item, wrong quantity, expired date
- Have the driver sign or acknowledge the rejection note
- Request a credit slip or return authorization from the driver’s company
- Contact your supplier’s account representative to follow up on the credit and document the recurring issue if it has happened before
Consistent rejection documentation is a powerful negotiating tool with suppliers. A record showing that a supplier’s poultry has arrived above temperature four times in a quarter gives you concrete grounds to demand corrective action, switch suppliers, or renegotiate pricing.
Setting Up the Receiving Area
The physical receiving area directly affects how well your procedures can be executed. According to the WebstaurantStore guide, the receiving area must be:
- Clean and well-maintained — not a storage overflow zone
- Well-lit, with a minimum of 20 foot-candles per FDA Food Code requirements
- Well-ventilated, particularly if deliveries are made in warm weather
- Equipped with shelves or racks for temporary staging so product never sits on the floor
- Positioned adjacent to refrigerated and frozen storage to minimize transit time
Keep a calibrated thermometer, a scale for weight verification, and copies of purchase orders readily available in the receiving area. Post temperature acceptance standards visibly so any staff member can reference them. The USDA FSIS provides additional guidance on safe food handling throughout the cold chain.
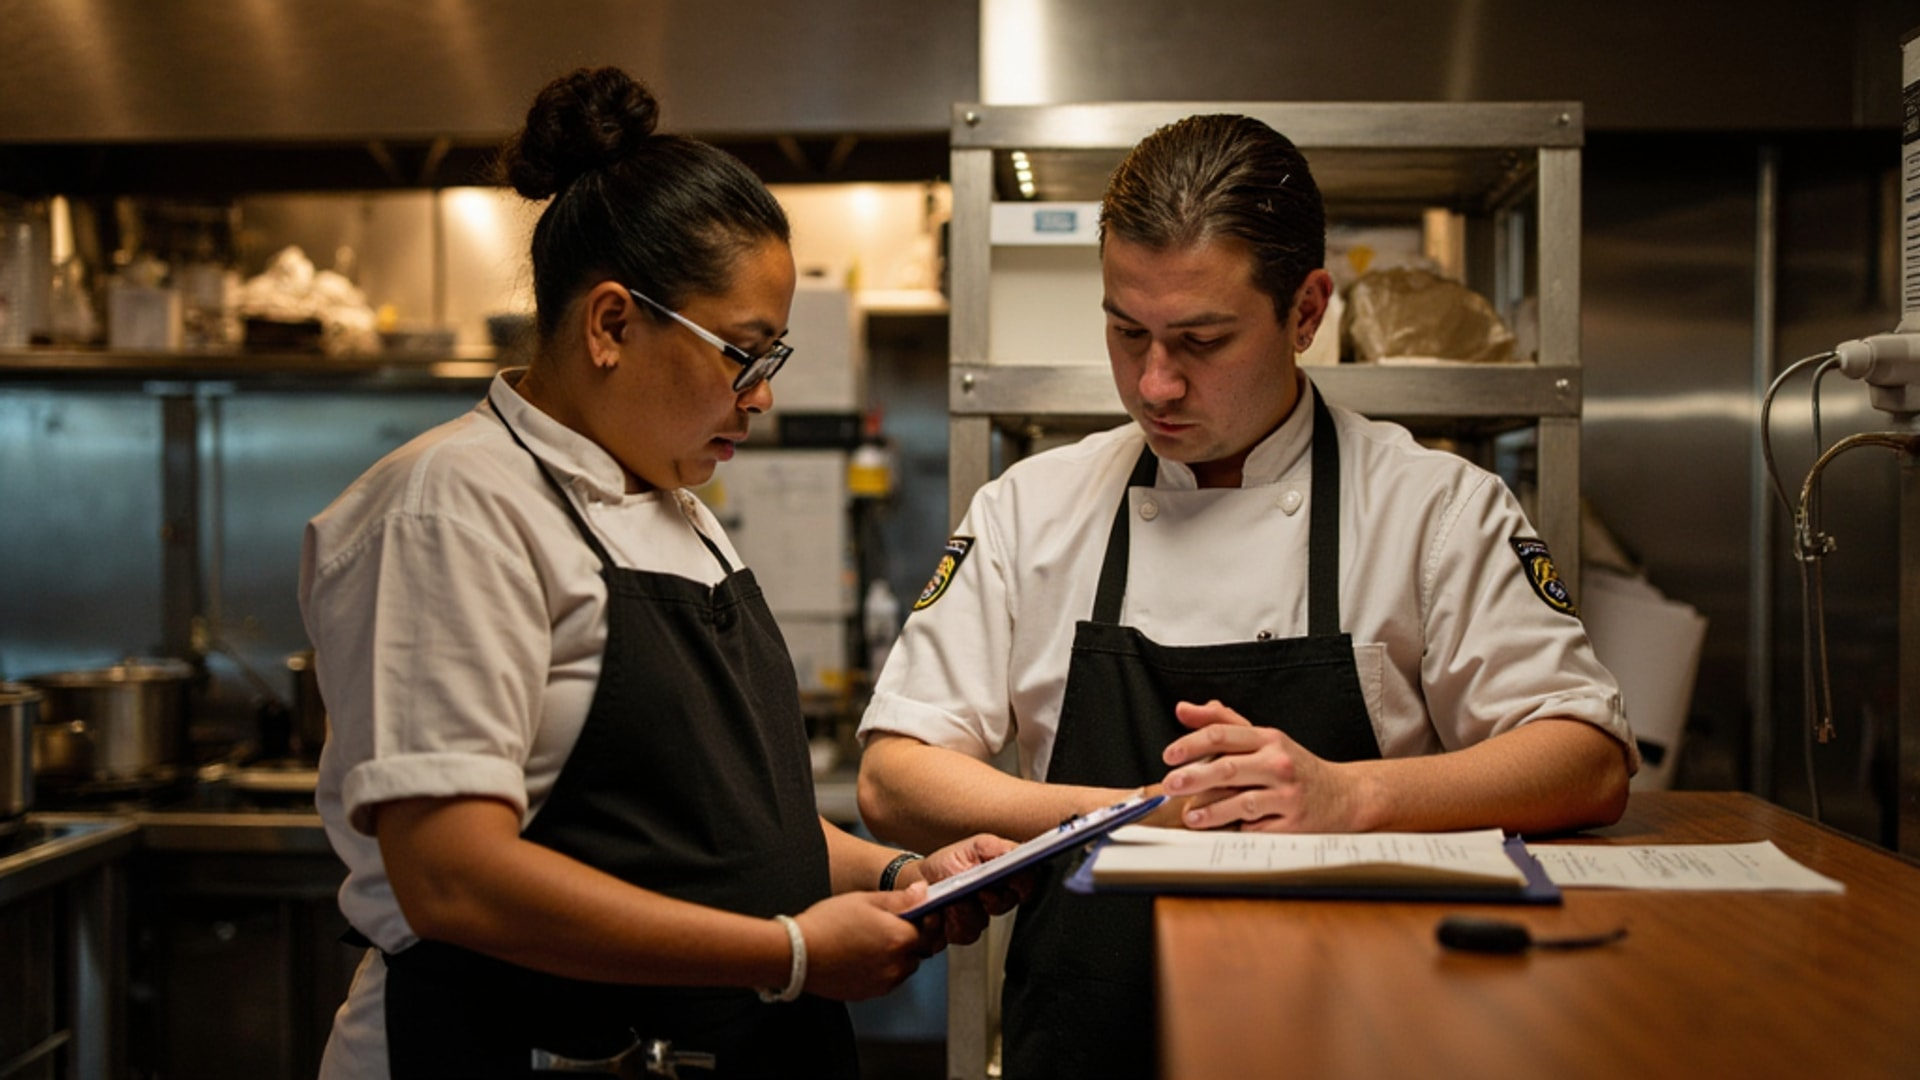
Staff Training and Accountability
Receiving inspection is only as good as the staff performing it. According to the WebstaurantStore guide, designating a specific trained staff member — not just whoever is available — for receiving responsibilities during each delivery window creates accountability.
Training should cover:
- Temperature standards and how to use a probe thermometer correctly
- Quality indicators for each product category in your purchasing program
- Documentation procedures and what to write on a delivery receipt
- Rejection authority — staff must know they have the authority and responsibility to reject non-compliant product, and that accepting a bad delivery will not be faster than rejecting it
Some operations build receiving inspection into a formal checklist that travels with the delivery driver while product is being unloaded. The checklist documents temperature readings, quantity confirmations, and quality observations in real time, then becomes part of the receiving log.
The Bigger Picture
Your receiving dock is the checkpoint between your supplier’s system and your kitchen. Everything downstream — food safety, food cost, quality consistency — starts here. A tight receiving protocol is one of the most cost-effective food safety investments a restaurant makes, and the habit of rigorous inspection signals to your suppliers that you will not absorb their errors quietly.
Build the procedure, train the staff, document every delivery, and follow up on every rejection. In six months, your suppliers will deliver better product to you than they deliver to the operation down the street that signs everything without checking.
→ Read more: Food Storage and Temperature Control: Zones, Rotation, and Compliance
→ Read more: Vendor Delivery Receiving: The 20 Minutes That Protect Your Food Cost